DIY printed magnetic hook

The cost for these was about $7 each for a “65 lb rated” hook and $4 for a “25 lbs rated” one. I’m putting these in quotes because this rating is applicable when they are against thick carbon steel in a straight on pull, not against a refrigerator (thin sheet metal) pulled in a perpendicular direction to the magnetic force applied. Further complicating matters is the tight space these needed to work in.
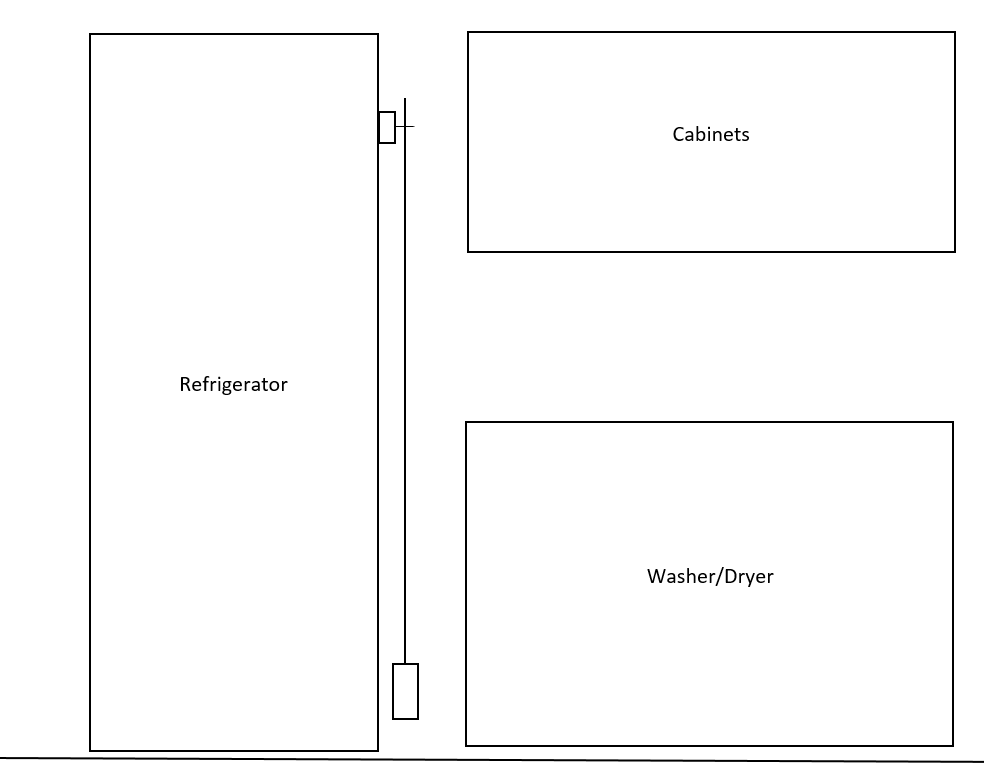
T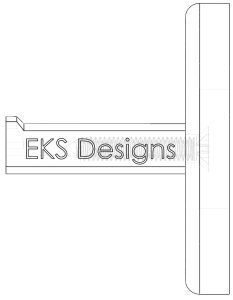 he main problem with this arrangement is that the hooks available require the tool (broom, etc) to be brought up at an angle (at least 45 degrees from horizontal) to go over the hook. We didn’t have the room for this because that motion would hit the washer/dryer. We needed hooks that went straight out, like the one I designed to the left.
I started by looking at two types of lift magnets: ceramic and neodymium. I ended up buying both of the two finalists below, one of each type.


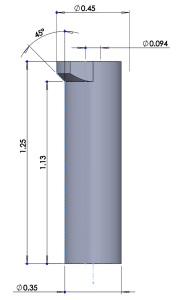 The great thing about the design of these lift magnets is that they are intended to be assembled into something that uses their force for a purpose, which in this case will be a hook. If you notice in each there is a hole, and even a nice countersink in the case of the neodymium magnet. I went ahead and ordered the magnets first so I could get dimensions from them via calipers since no dimensions were available online. Turns out that an #8 wood screw that is 1″ long works great for both of the lift magnets (found here or at your local big box store), so I designed the ID (inner diameter) of my print to be the standard recommended pilot hole for these screws (3/32″). I also measured everything we would want to hang on the hooks to see what the smallest ID of the tool’s hanging point would be. I wanted some element of retention so I added a larger lip at the end, then ensured that the new overall OD (outer diameter) of the hook would be smaller than the measured ID above. Assembly is very easy once the print finishes: hold the print steady and assemble the magnet to the print with the wood screw. Check out the build video below:
STL version of the file is available here.
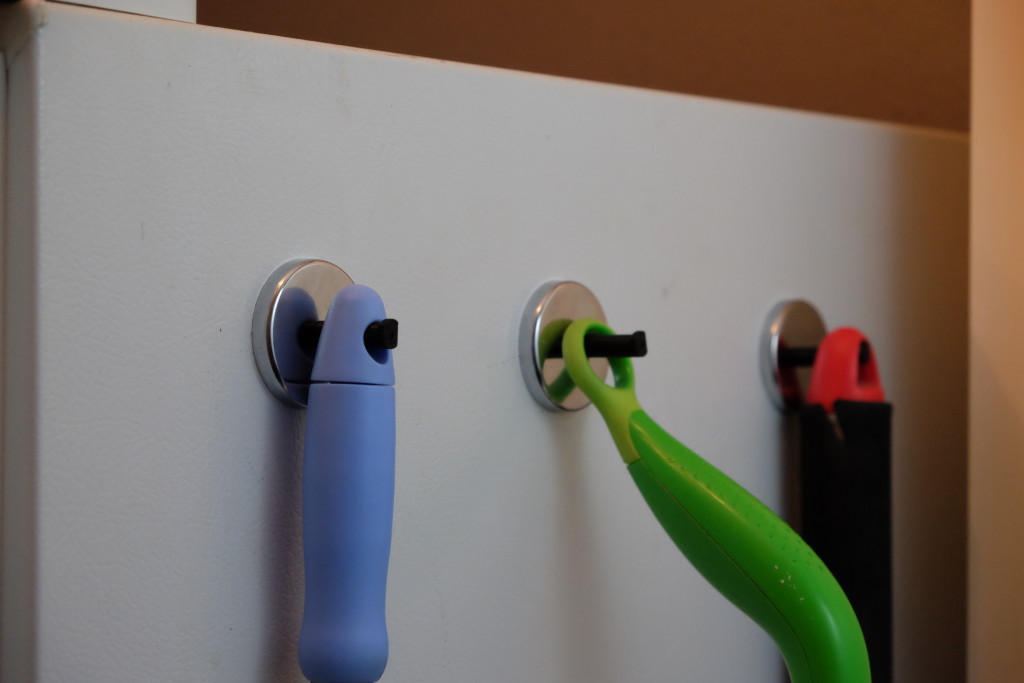


 two arms at the same time. The screw design came from